Mounting methods
Good data starts with good coupling. Bolt mounting gives the best signal and gluing needs no drilling. Use an adapter whenever you can, so the sensor can be removed and refitted later.
You can turn the sensor by hand to the right orientation in two cases: when you glue it (before the glue cures), or when you use the orientation adapter.
Where on the machine to mount it is a separate question — see Recommended installation locations.
What the decision depends on
Deploying a Treon Industrial Node X is straightforward, but five things decide how it goes, and they interact:
- the installation location on the monitored asset;
- the mounting method — this page;
- surface and environmental temperatures;
- hazardous areas, which call for the Treon Industrial Node X Ex variant;
- the layout of the whole mesh network.
Location and method are the two you settle at the machine; see Recommended installation locations for the first and Network for the last. Always consult the asset's own product documentation before drilling or gluing anything to it.
Mounting through the Treon Bolt Mount Adapter or the Treon Orientation Adapter is the most suitable solution for most assets.
Choosing a method
| Method | Bonding | Min. surface diameter | Min. thread depth | Total height (node + adapter) | Curved / uneven | Manual orientation | Vibration response | Temperature response | Affects magnetometer |
|---|---|---|---|---|---|---|---|---|---|
| Direct glue | Glue | 31.7 mm (1.25 in) | – | 80 mm (3.15 in) | No | Yes | Excellent | Excellent | No |
| Bolt Mount Adapter | M6×1 / M8×1.25 bolt | 31.7 mm (1.25 in) | 9 mm (0.35 in) | 88 mm (3.46 in) | No | No | Excellent | Good | No |
| Orientation Adapter | M6×1 / M8×1.25 bolt | 25 mm (0.98 in) | 9 mm (0.35 in) | 91 mm (3.58 in) | No | Yes | Good | Good | No |
| Magnetic glue, flat | Glue | 31.7 mm (1.24 in) | – | 89 mm (3.50 in) | No | Yes | Good | Medium | Yes |
| Magnetic glue, curved | Glue | 33 mm (1.30 in) | – | 89 mm (3.50 in) | Yes | Yes | Good | Medium | Yes |
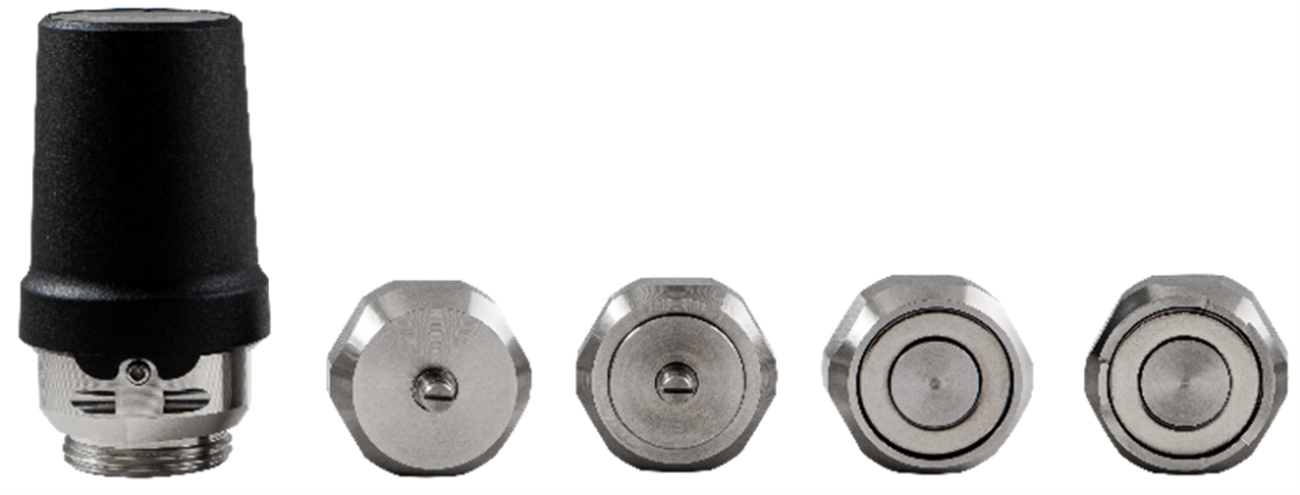
Each adapter presents a different face to the machine:
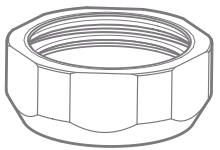
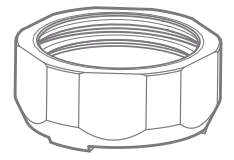
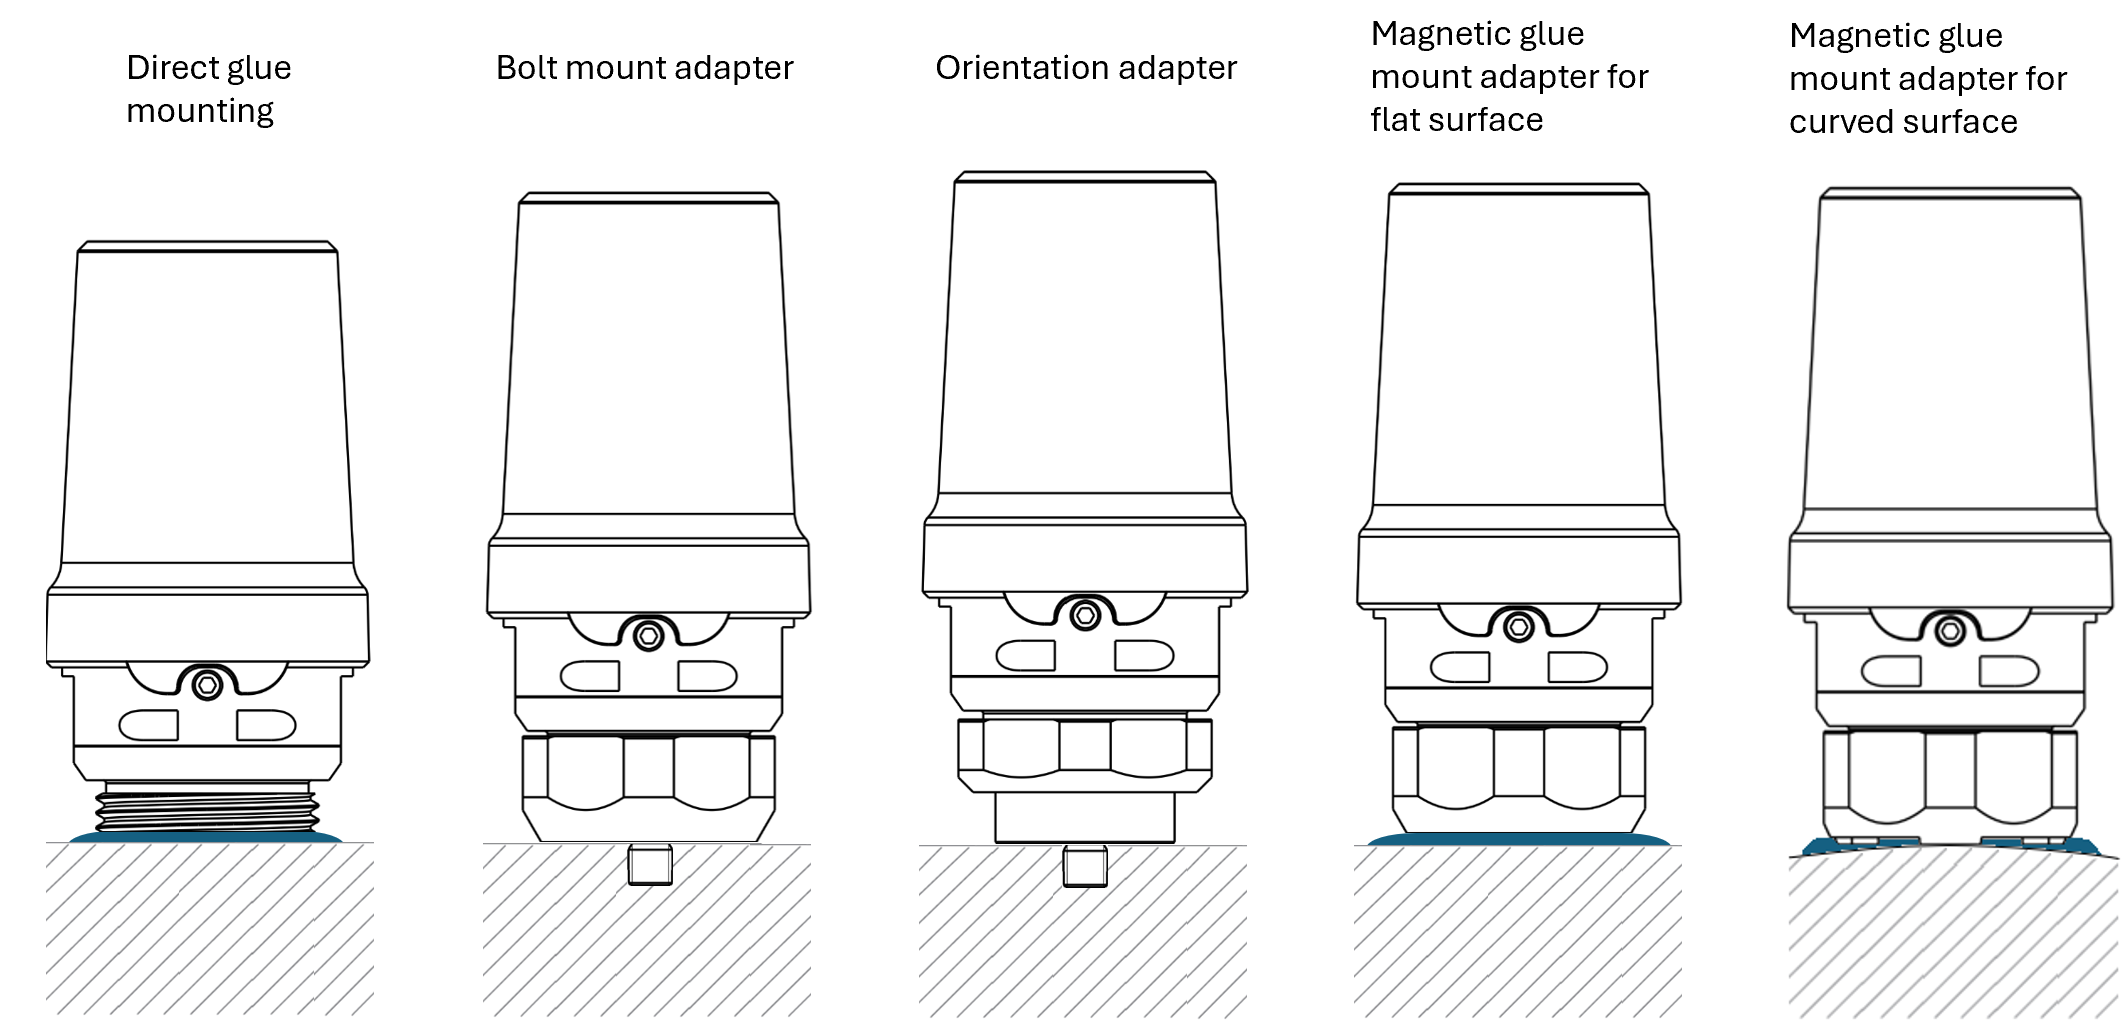
And in cross-section, how each one meets the machine's surface:
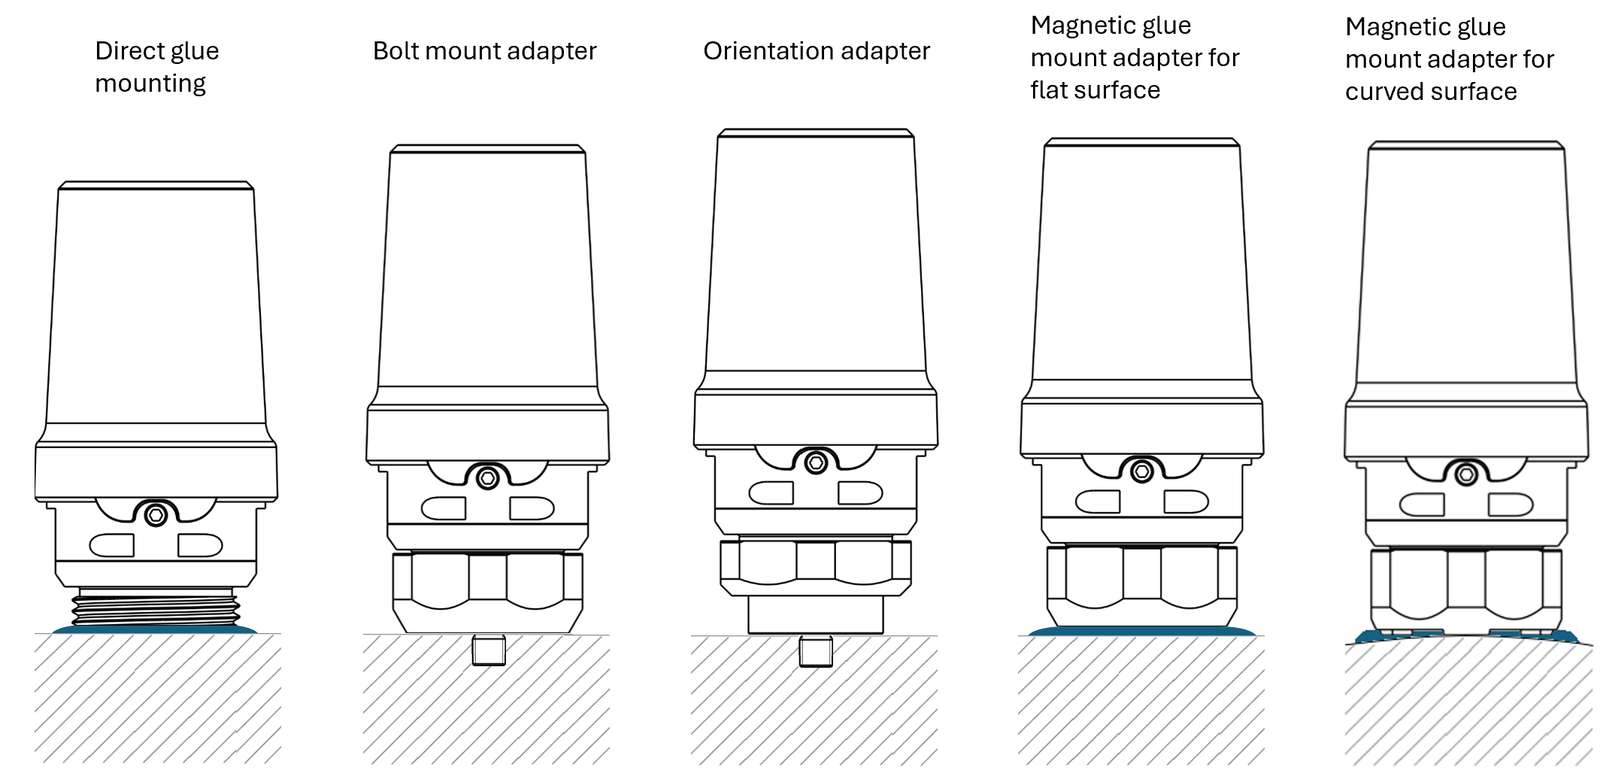
As a default: prefer bolt mounting with spot-face drilling for the best frequency response, and use the Orientation Adapter so the node can be aligned. Do not glue where a glue failure and a detached sensor could damage the machine.
Prepare the surface
A good mechanical contact is what carries high-frequency vibration into the sensor. For best measurement quality the machine's contact surface should be:
- completely flat — within 0.03 mm (1 mil, 1/1000 in);
- smooth — surface texture no rougher than Ra 0.8 (32 microinches);
- larger than the base of the Treon Industrial Node X.
Where you can smooth the surface, smooth an area larger than the base. Where you cannot, choose a method that tolerates what you have — the curved magnetic-glue adapter is the only one rated for a curved or uneven surface.
Remove paint from the mounting area where you safely can, then clean off all dirt, grease and other contaminants. A node stuck to loose paint reads poorly and can fall off.
Alignment
For the measurement data of all three axes to be interpretable, the node's centreline is usually aligned with the shaft of the rotating machine. Align its axes directly toward the drive or non-drive end, using the orientation notch in the top window and the safety-screw opening (the Z-axis) as visual guides.
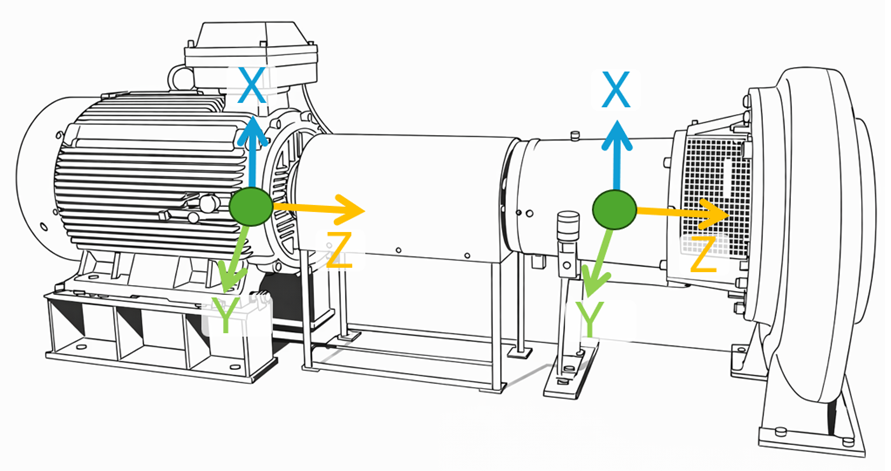
Which directions to align to
Align the axes of every node on an asset, and across assets, the same way wherever you can. Unified orientation is what makes per-axis readings directly comparable between measurement points.
- One axis along the asset's horizontal direction.
- One axis along its vertical direction.
- One axis along the shaft, the axial direction.
Always measure at least one radial direction, vertical or horizontal. Take axial measurements at least at axial load-carrying (thrust) bearing locations.
Which methods can be aligned
Manual alignment requires the Orientation Adapter, a magnetic glue adapter, or direct gluing, and it has to be done before the glue cures or the adapter is tightened. The Bolt Mount Adapter does not allow axis rotation during installation or afterwards, so choose the Orientation Adapter instead whenever axis alignment matters on a bolted installation.
| Method | Can be aligned by hand |
|---|---|
| Bolt Mount Adapter | No |
| Orientation Adapter | Yes, before final tightening |
| Magnetic glue adapter, flat or curved | Yes, before the glue cures |
| Direct glue | Yes, before the glue cures |
Where to put the node
Alignment only helps if the node is in the right place to begin with. Mount as close to the bearing load zone as you can reach, on a rigid part of the housing, and avoid thin covers, guards, cooling fins and loosely fastened parts. See Recommended installation locations for the full rules and the worked examples.
Bolt mounting (Bolt Mount or Orientation Adapter)
Best measurement quality, for a flat surface you can drill:
- Drill and tap an M6×1 or M8×1.25 hole, at least 9 mm deep, perpendicular (90°) to the surface, and clean it.
- Fit the matching bolt to the adapter, then screw the adapter onto the node. When attaching an adapter to the node's bottom thread, tighten it to 20 Nm for best results.
- Screw the assembly into the hole and tighten with a 34 mm spanner to the torque in the printed instructions.
- With the Orientation Adapter, leave the final nut loose, rotate the node to align its axes, then tighten.
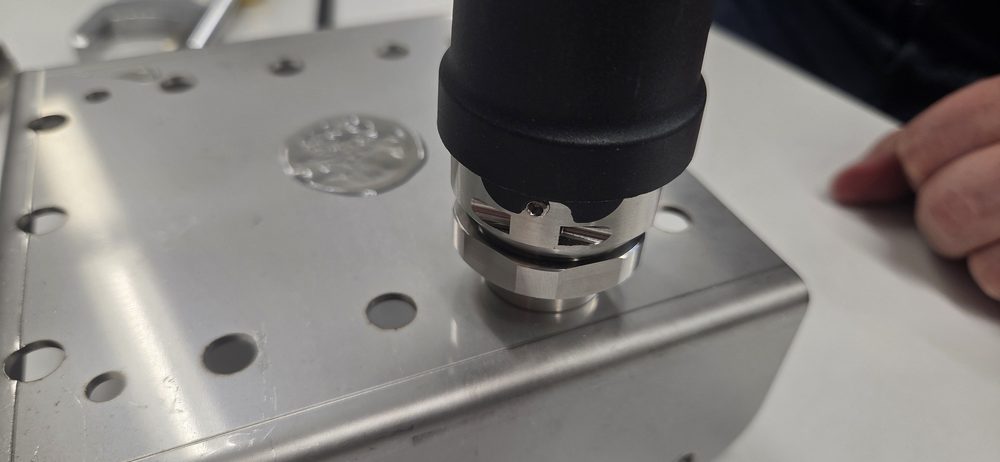
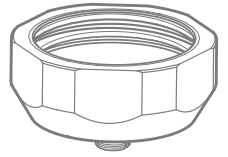
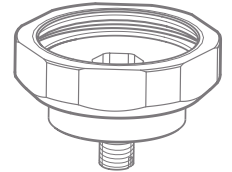
The Bolt Mount Adapter attaches directly to the asset's surface, which minimises the vibration transmission route and gives the best measurement quality — at the cost of not being orientable. The Orientation Adapter has the same benefits plus manual orientation, and needs a smaller flat area (25 mm rather than 31.7 mm).
Glue mounting (magnetic-glue adapter or direct)
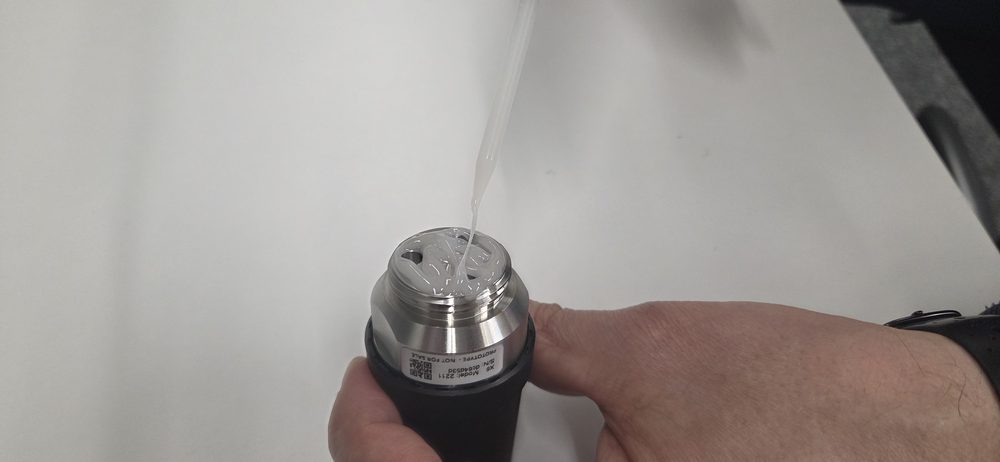
For surfaces you can't or don't want to drill. The magnetic-glue adapters add a magnet that holds the node in place while the adhesive sets (flat or curved variants); direct glue bonds the node's own base for the shortest vibration path and the best response on a flat, smooth surface.
- Clean the surface thoroughly.
- For an adapter, screw it onto the node first (20 Nm). For direct mounting, skip to the glue.
- Apply a suitable industrial adhesive — Loctite 4090, for example — over an area at least the diameter of the base, following the adhesive's own instructions.
- Place the node in the intended orientation and hold it (or let the magnet hold it) while the adhesive bonds — 3 to 5 minutes — and then leave it undisturbed until the glue has fully cured.
The magnet alone is not a mount
Attaching the sensor with the magnet only is not enough: the connection will not be strong enough to give good measurement results over the full frequency range. The magnets exist to hold the sensor in place while the glue or epoxy cures.
Improper mounting techniques
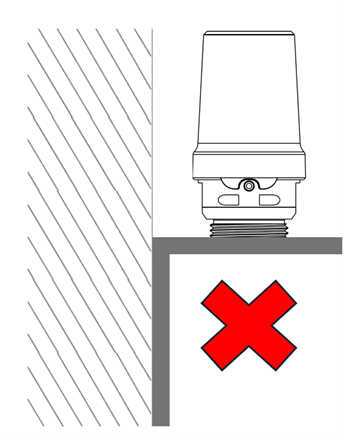
Mistake 1: wrong mounting location. Mount directly to the asset, not to parts extruding from it such as fan covers and cooling fins.
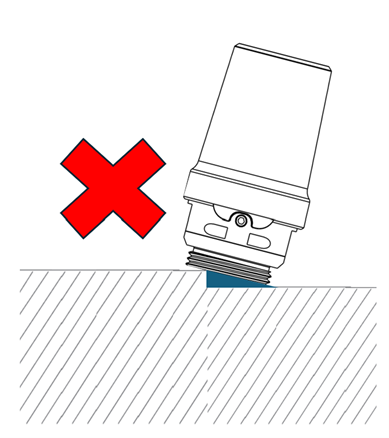
Mistake 2: uneven mounting base. Mount on an even surface, with the node at 90° to that surface.
Once mounted, power the node on and confirm it's online.