Users and roles
Control who can do what, and where. All permissions come from roles, and each role is granted per group. There are no per-user exceptions.
Invite a user
In Users, click Invite User and fill in Full Name, Email (validated) and one or more Roles, then Send Invite — the person receives an email to set up their account.
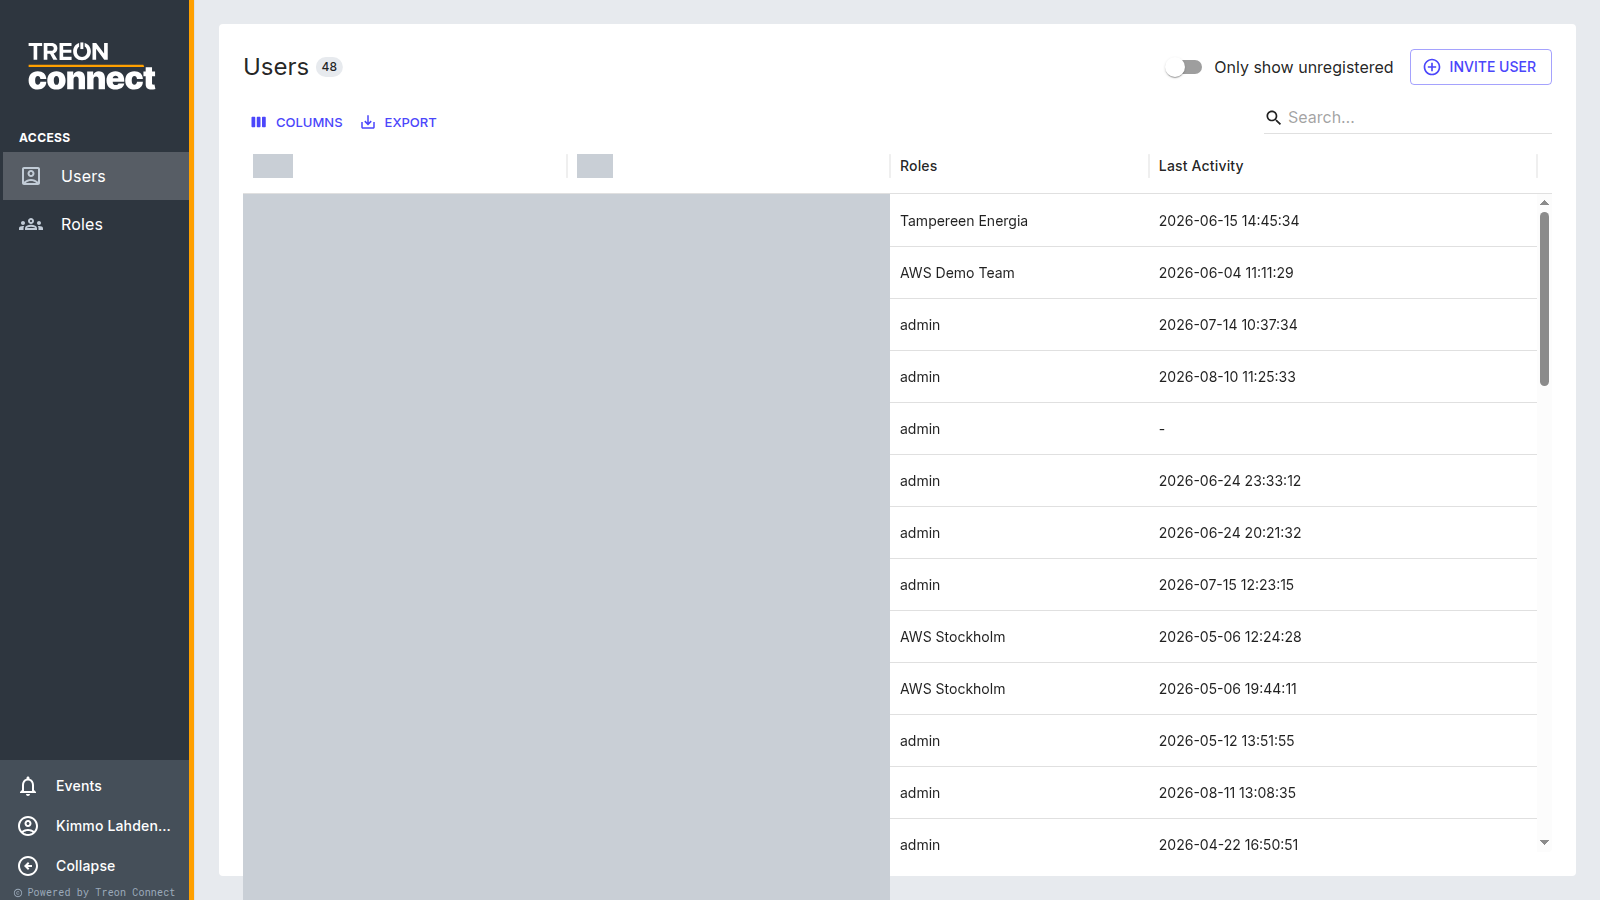
(User names and email addresses are redacted in this screenshot.)
The list shows each user's Name, Email, Roles and Last Activity, with an Only show unregistered filter for people who haven't signed in yet.
Manage a user
Open a user (Edit User) to change their name, email or roles. Depending on whether they've signed in, you can Reset Password (active users) or Resend Invite (never active), and Delete the user. There is no separate "deactivate" — removing someone's access means deleting them. Each action asks for confirmation.
Create or edit a role
In Roles, Create New opens the role editor.
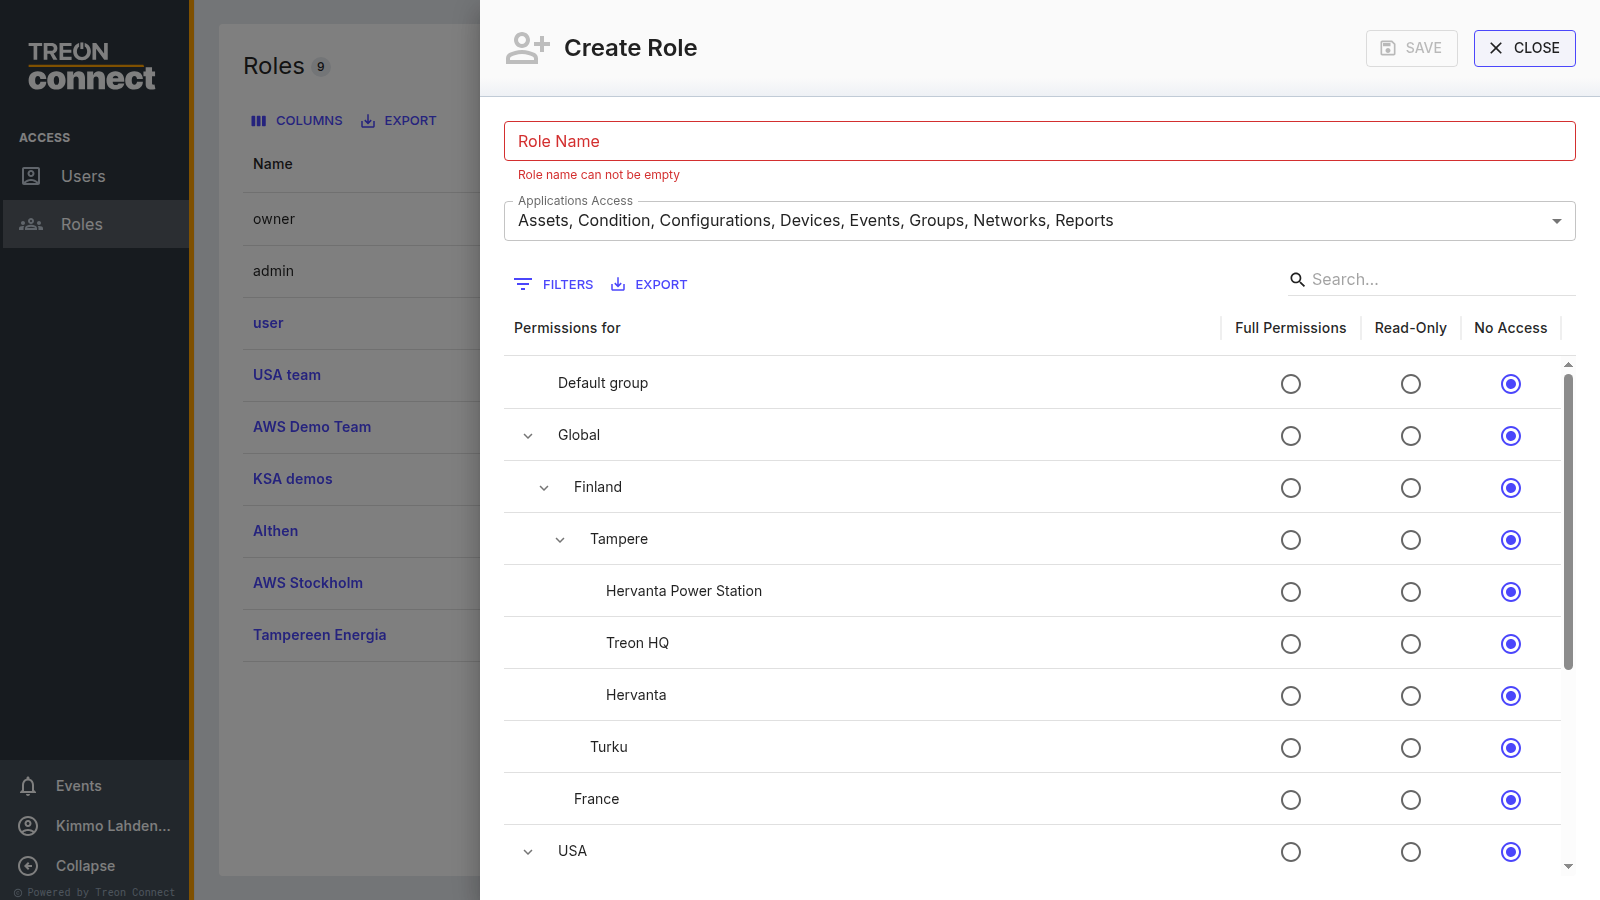
A role has three parts:
- Role Name.
- Applications Access — which applications the role can open. The list is the set of applications enabled for your instance (for example Events, Condition, Networks, Devices, Configurations, Reports, Access, Groups, Assets), so it can differ between instances.
- A per-group permission grid — for each group, one of Full Permissions, Read-Only or No Access (the default).
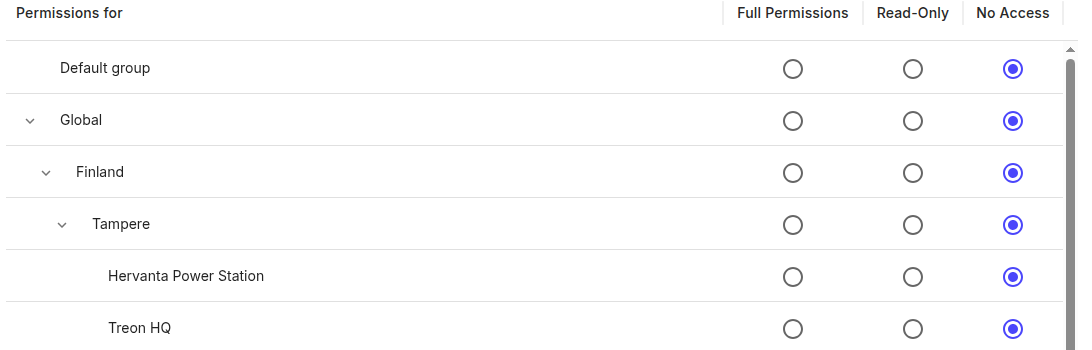
Setting Full Permissions or Read-Only on a group cascades to all its descendants (and locks those child rows), so granting a site grants everything under it; No Access does not cascade. The built-in owner and admin roles are protected and can't be edited.
New sub-groups and existing roles
When you add a sub-group under a group a role already covers, re-save the role so the permission cascades to the new sub-group — otherwise users on that role won't immediately see it.