Installation with Treon Glue Mount Adapter
Sep 6, 2023 · 5 minutes to read
Introduction
Using the Glue Mount Adapter enables attaching the Industrial Node to a flat surface with glue. It is possible to manually align the Industrial Node.
Installation with a Glue Mount Adapter requires a Treon Glue Mount Adapter, suitable glue, and a surface of 32 mm diameter.
There are two options for the manual alignment:
Option A: Alignment during Installation:
- The Industrial Node is first attached to the Glue Mount Node. Then they are aligned together on the machine surface during the glueing process.
- This option is best for installation locations that have no spacial restrictions and are easy to reach.
Option B: Pre-Alignment of the Glue Mount Adapter:
- The Glue Mount Adapter is pre-aligned and glued to the machine surface. Afterwards, the Industrial Node is attached to the pre-installed Glue Mount Adapter.
- This option is best for installation locations that are difficult to reach or have spacial restrictions. Here it is easier to first install only the Glue Mount Adapter, and then attach the Industrial Node afterwards.
- There is a risk that the adhesion of the glue between Glue Mount Adapter and the machine surface gets compromised when the Industrial Node is fastened to the Glue Mount Adapter.
What you need
For this installation method you will need:
- Treon Glue Mount Adapter
- Silicone grease
- Glue (Loctite AA E330 or other suitable glue)
- Torque wrench
Option A: Alignment during Installation
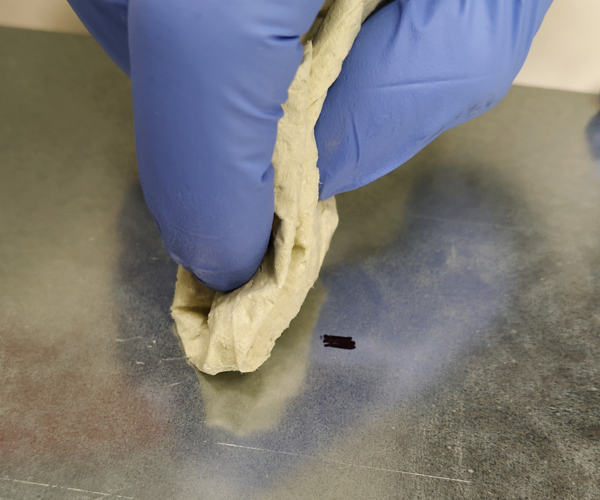
Step 1a: Clean Machine Surface
Carefully clean the surface of the machine in a wider area where the Industrial Node should be attached.
 |
|---|
Step 2a: Grease the Adapter
Apply and carefully spread the silicon grease to the Glue Mount Adapter’s top surface. This is the surface opposite to the magnet surface.
If you are unsure which surface is the right one, test the magnetic surface of the adapter with a metal surface and then choose the opposite surface for this step.
 |  |  |
|---|---|---|
 should be covered |
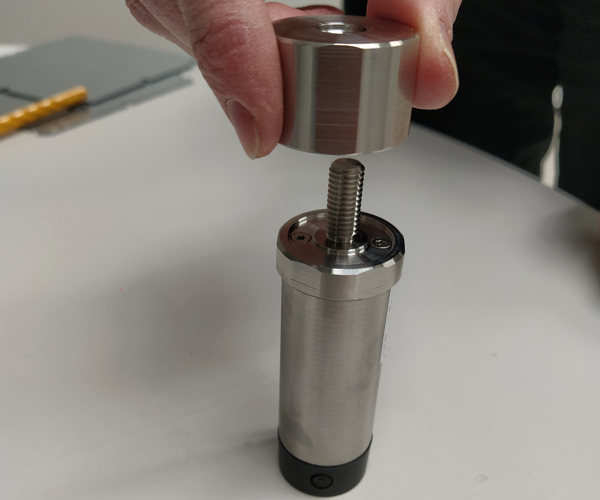
Step 3a: Attach Glue Mount Adapter
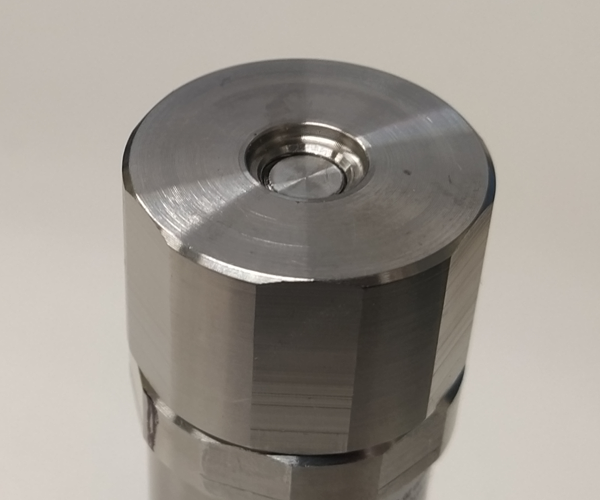
Take the Glue Mount Adapter and carefully screw it to the Industrial Node. The recess around the screw hole in the Glue Mount Adapter has to point away from the Industrial Node.
 |  |  |
|---|
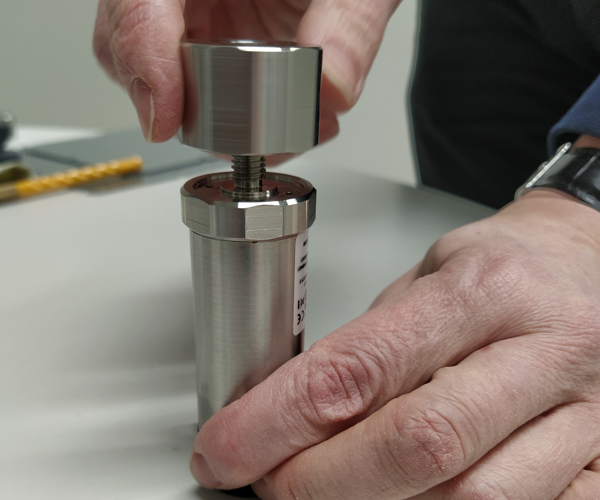
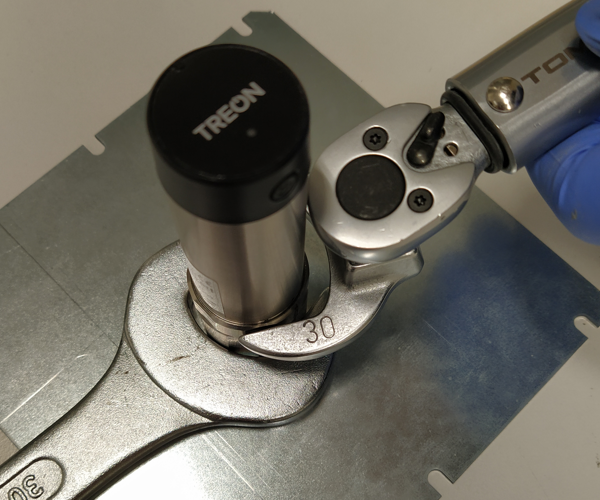
Step 4a: Tighten
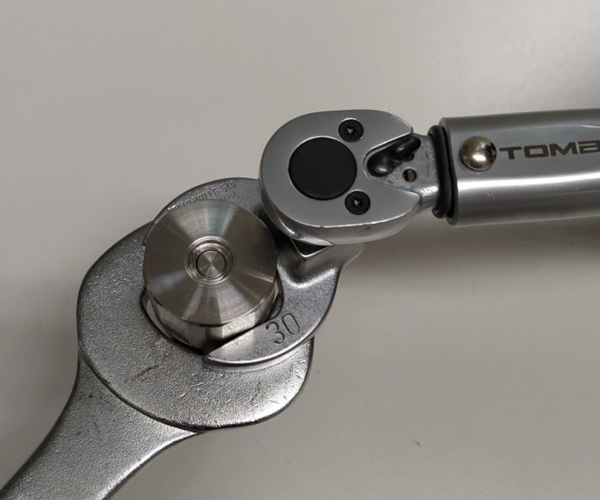
Set the torque in the torque wrench to exactly 8 Nm. The SW size is 30 mm.
Hold the Industrial Node with the SW 30 spanner or wrench and carefully tighten the Glue Mount Adapter.
 |
|---|
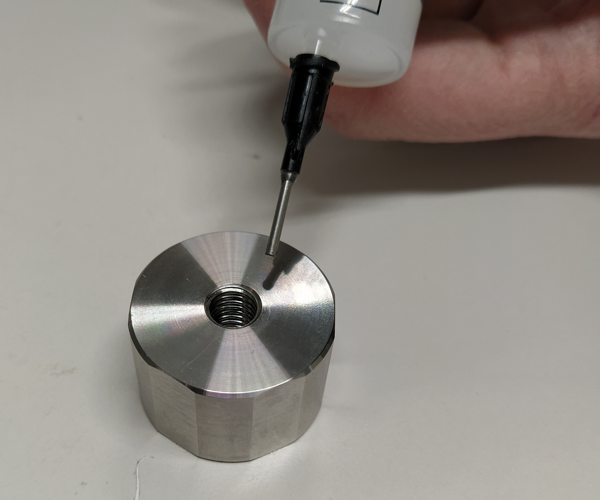
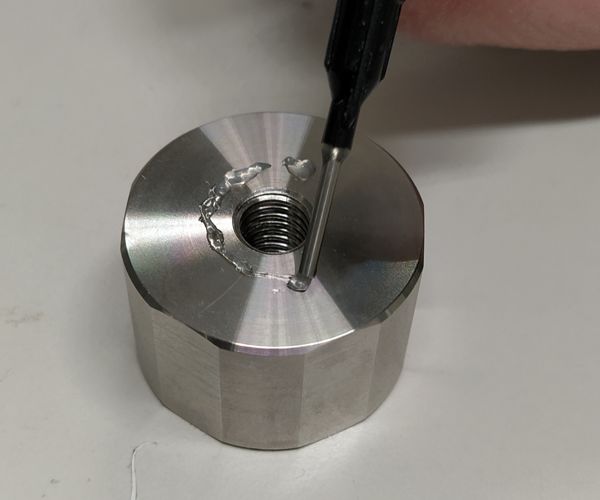
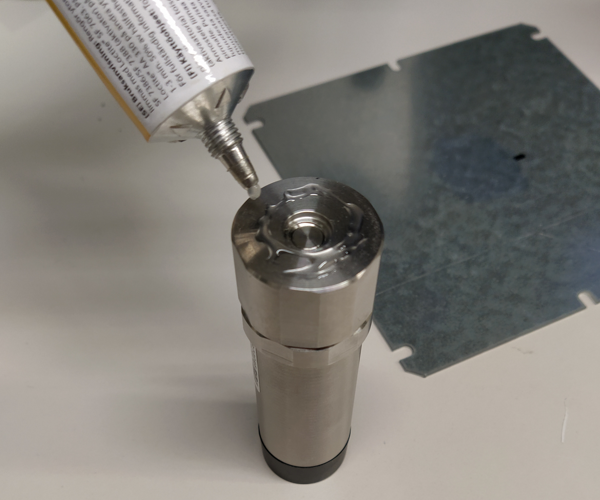
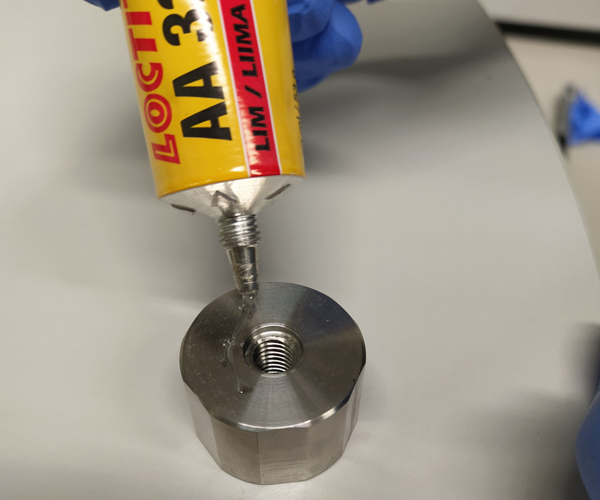
Step 5a: Apply Glue
First carefully apply the glue to the Glue Mount Adapter.
Then apply the glue activator to the surface of your machine.
 |  |
|---|
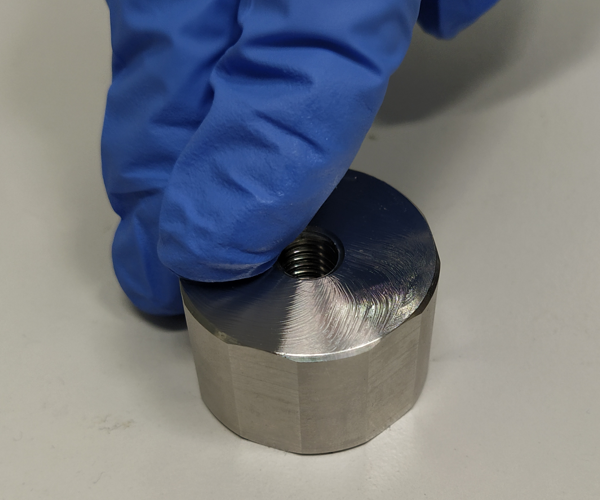
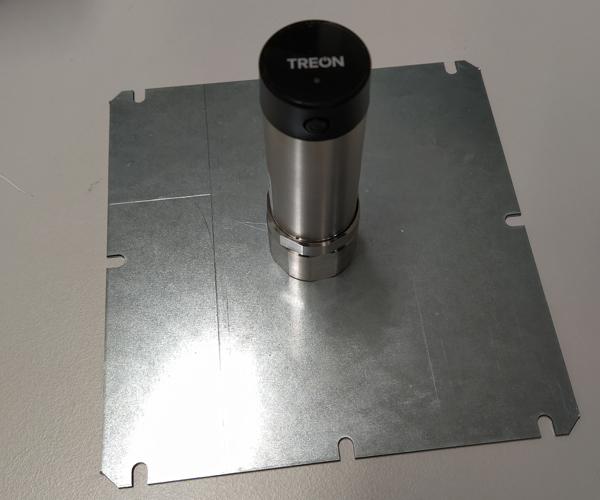
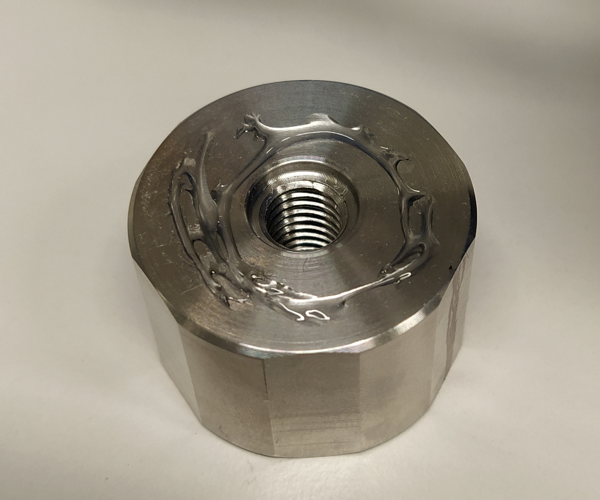
Step 6a: Glueing & Alignment
Place the Industrial Node on top of the glue activator. Align it so that the axis of the Industrial Node points directly toward either the drive or the non-drive end of the machine.
Wait until the glue is fully hardened.
 |
|---|
Option B: Pre-Alignment of the Glue Mount Adapter
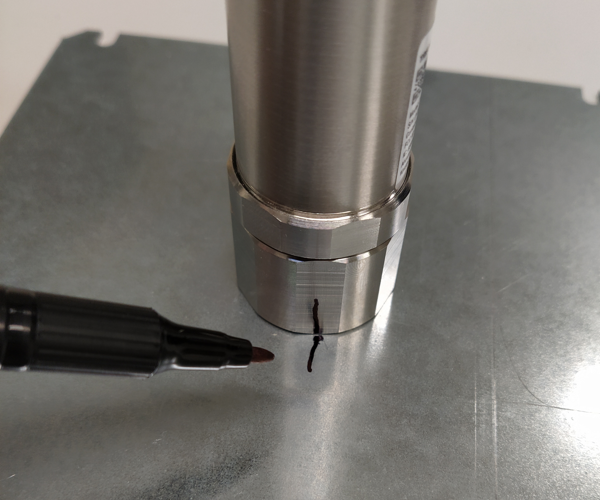
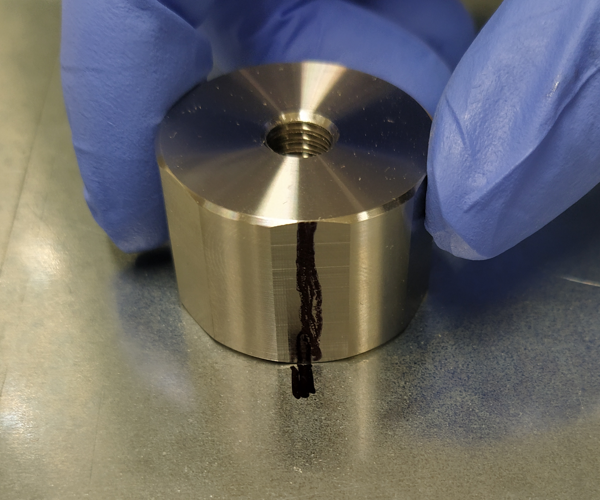
Step 6b: Glueing & Alignment
Place the Industrial to machine surface where it is planned to be installed. Align it correctly and mark the lines between the machine surface and the Glue Mount adapter.
|  |
|---|
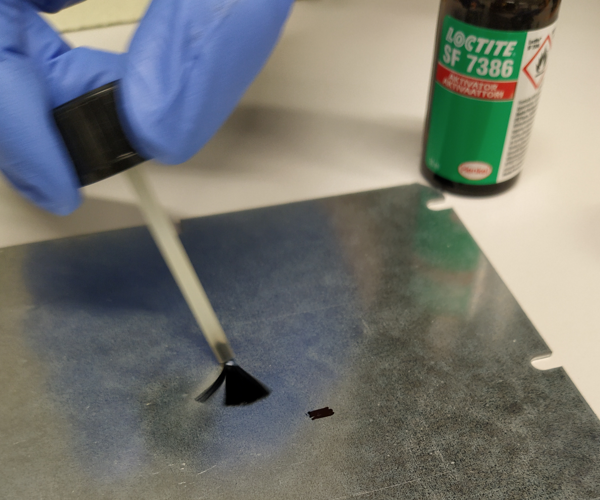
Step 7b: Glueing & Alignment
Unscrew the Glue Mount Adapter from the Industrial Node. Now apply glue to the Glue Mount Adapter’s bottom surface. Then apply the glue activator to the surface of the machine where you plan to mount the Industrial Node.
|  |  |
|---|---|---|
|
Step 8b: Aligning the Glue Mount Adapter
Carefully place Glue Mount adapter on top of the glue on the machine surface. Align the Glue Mount Adapter to machine according to the markings you made earlier.
 and align with marking |
|---|
Let the glue harden.
Step 9b: Screwing and Tightening
After the glue is fully hardened, carefully screw Industrial Node into the Glue Mount Adapter.
Set torque on the torque wrench to exactly 8 Nm. The SW size is 30 mm. Hold the Industrial Node with the SW 30 spanner or wrench and tighten the Glue Mount Adapter.
 |
|---|
The Industrial Node or Industrial Node 6 is now fully installed!
Treon Support
You still have questions? Our dedicated team of experts is happy to help you! Please contact Treon Support directly by e-mail.
Did you know? Treon offers Premium Support and Maintenance Packages for our customers. Get even more out of Treon and boost your sales - inquire now about features and prices!