Installation with Treon Magnetic Mount Adapter
Sep 6, 2023 · 3 minutes to read
Introduction
Using the Treon Magnetic Mount Adapter enables attaching Treon Industrial Node to uneven surfaces and without any opening for a bolt. The Treon Industrial Node will be pre-fixed by a magnet and the final installation must then be done with a suitable glue. It is possible to manually align the Treon Industrial Node.
The installation requires a Treon Magnetic Mount Adapter, epoxy, and a surface of 32 mm diameter.
What you need
For this installation method you will need:
- Treon Magnetic Mount Adapter
- Silicone grease
- Glue (Loctite EA 3450, Loctite HY 4070 or other suitable glue)
- Torque wrench
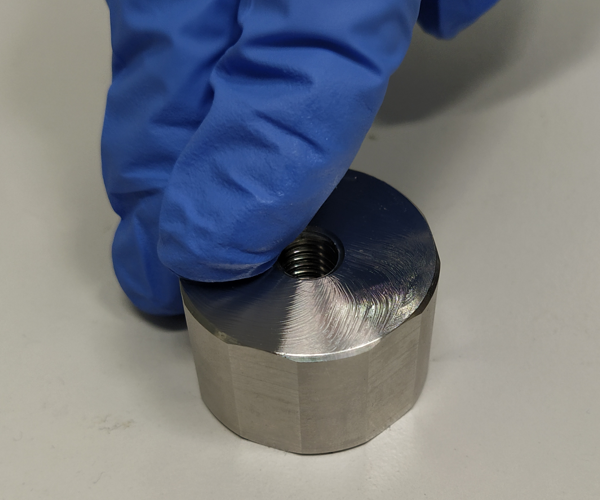
Step 1: Apply Silicon Grease
Apply and carefully spread the silicon grease to the Treon Magnetic Mount Adapter’s top surface. This is the surface opposite to the magnet surface.
If you are unsure which surface is the right one, test the magnetic surface of the adapter with a metal surface and then choose the opposite surface for this step.
 |  |  |
|---|---|---|
 should be covered |
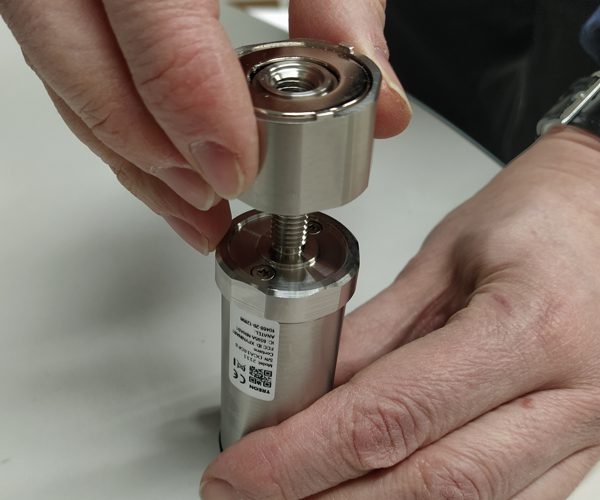
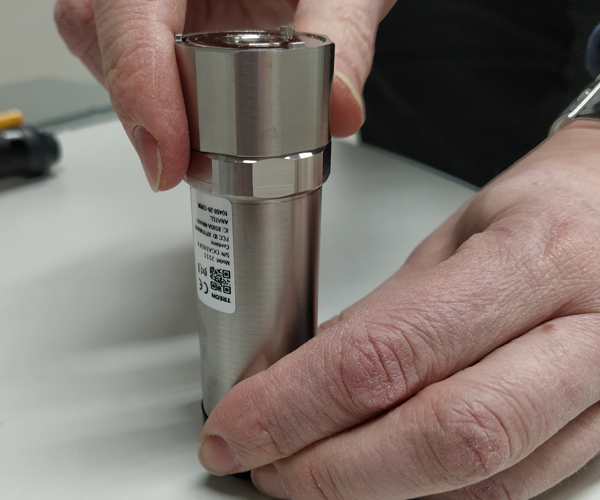
Step 2: Connect Magnetic Mount Adapter to Industrial Node
Take the Magnetic Mount Adapter and carefully screw it to the Industrial Node. The greased surface should point toward the Industrial Node, and the magnetic side away from the Node.
 |  |
|---|
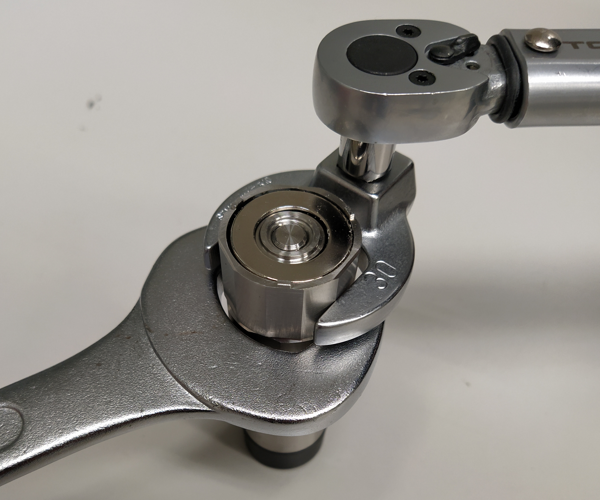
Step 3: Tighten
Set the torque in the torque wrench to exactly 8 Nm. The SW size is 30 mm.
Hold the Industrial Node with the SW 30 spanner or wrench and carefully tighten the Magnetic Mount Adapter.
 |
|---|
Step 4: Clean Machine Surface
Now carefully clean the surface of the machine where the Industrial Node should be attached.
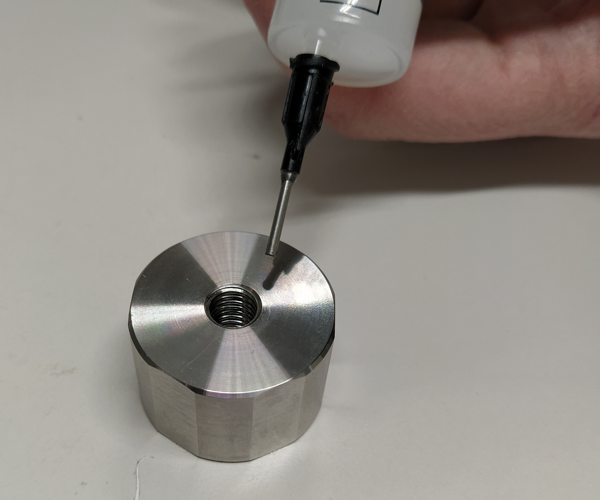
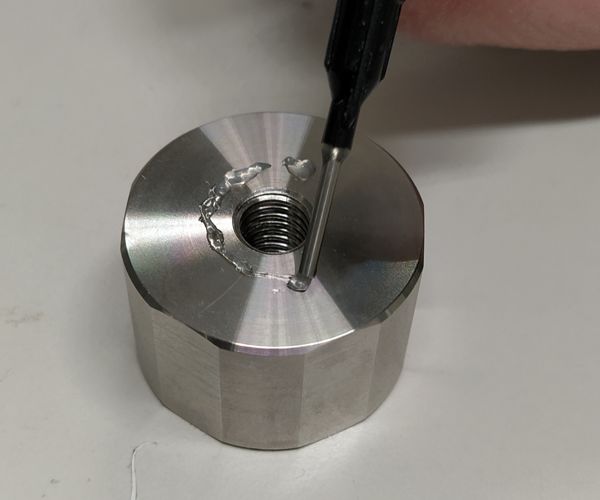
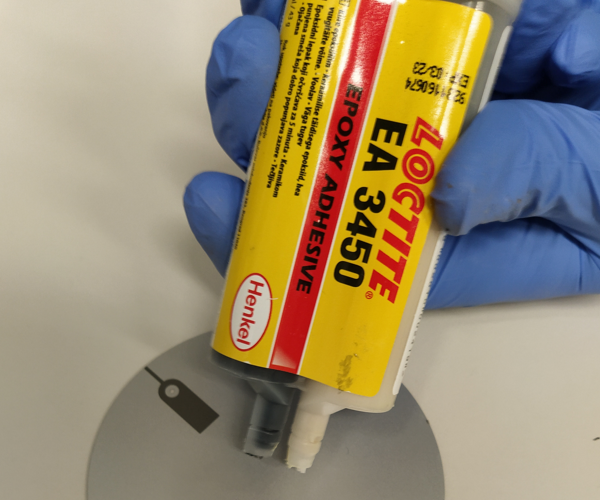
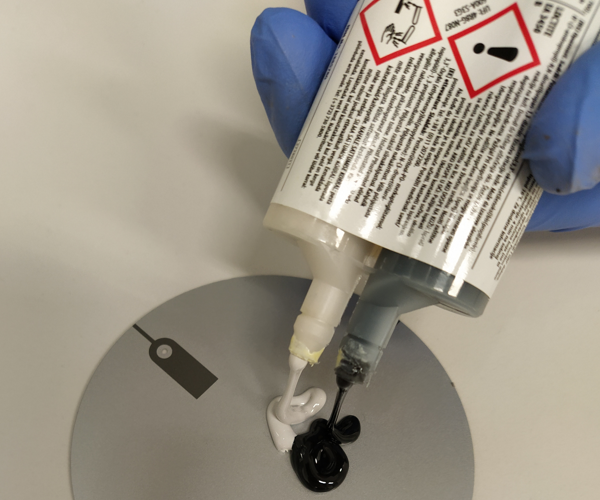
Step 5: Apply the Glue
Prepare the glue and then apply it to the surface of your machine according to the instructions of the glue manufacturer.
 |  | 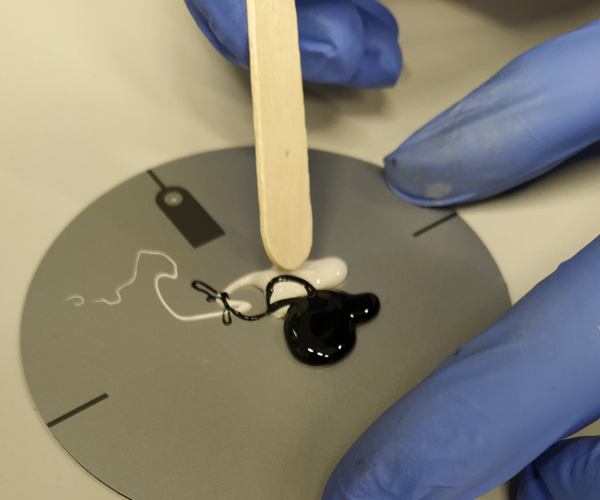 |
|---|---|---|
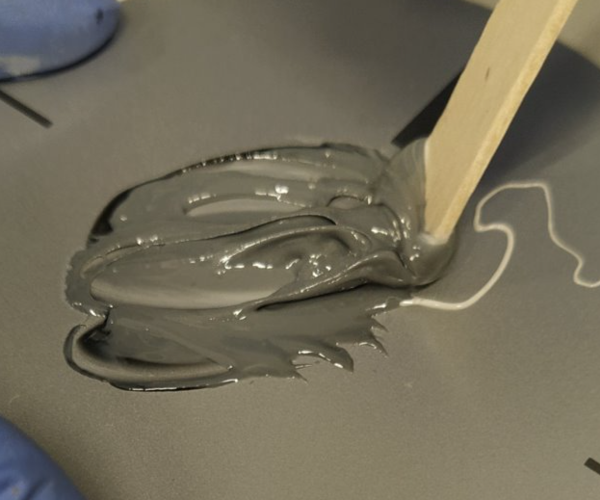 | 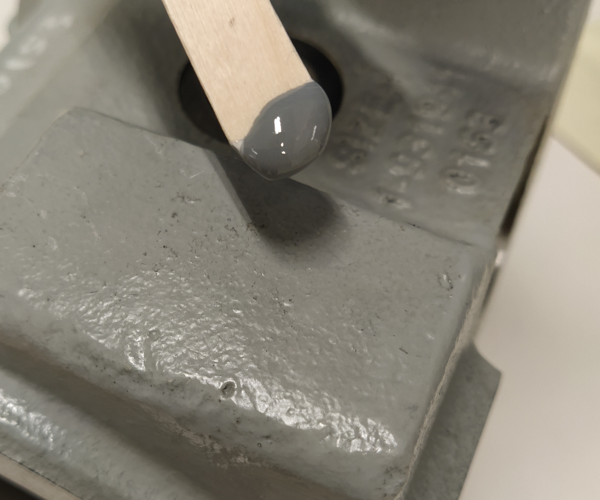 |  |
Please note: If you use a an epoxy glue that gets mixed in the nozzle, like the Loctite HY 4070, you can apply directly to the machine surface.
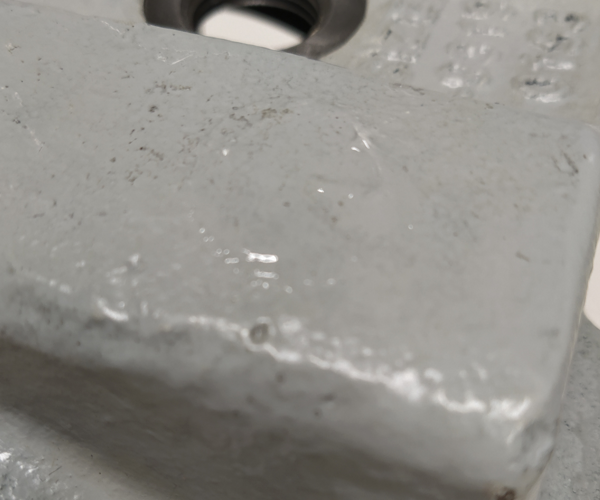
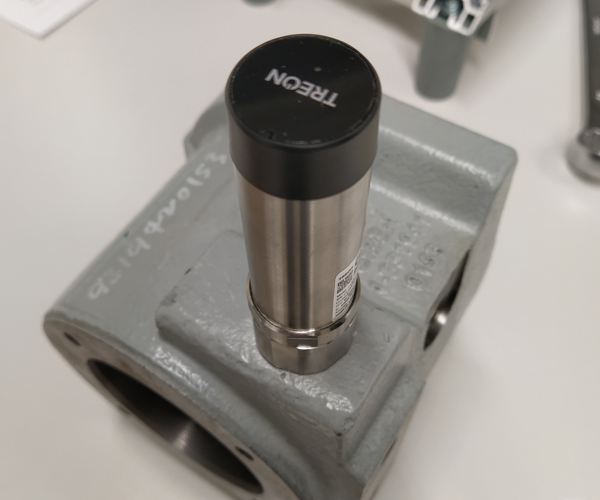
Step 6: Attach Industrial Node to Machine
Place the Treon Industrial Node on top of the glue. Now align the node so that its axis points directly toward either the drive or the non-drive end of the machine.
 |
|---|
Let the glue harden fully before turning on the machine.
The Treon Industrial Node or Treon Industrial Node 6 is now fully installed!
Treon Support
You still have questions? Our dedicated team of experts is happy to help you! Please contact Treon Support directly by e-mail.
Did you know? Treon offers Premium Support and Maintenance Packages for our customers. Get even more out of Treon and boost your sales - inquire now about features and prices!