Installation with Treon Nut Adapter
Sep 6, 2023 · 5 minutes to read
Introduction
It is possible to install your Treon Industrial Node and Industrial Node 6 either with or without epoxy.
Option A: Nut adapter installation with epoxy:
- Minimum thread length can be less than 9 mm depending on the amount of epoxy
- Node alignment can be done manually
Option B: Nut adapter installation without epoxy:
- Minimum thread length for the hole is 9 mm
- Manual alignment is not possible
Using a nut adapter enables attaching the Industrial Node to a spot with less available space in diameter, a shorter M8 opening with less threading and with additional epoxy to uneven surface. It is possible to manually align the Treon Industrial Node.
The installation requires a Treon Nut Adapter, a flat surface of 25 mm diameter, a hole for M8 bolt with 9.5 mm depth of threading, and optional epoxy.
What you need
For this installation method you will need:
- Treon Nut Adapter
- Hole drilled into the machine surface
- Silicone grease
- Torque wrench
- Epoxy (only for installation method with epoxy)
- Optional: Threadlocker
Step 1: Grease the Treon Nut Adapter
Apply and spread the silicon grease to the whole area of the larger Treon Nut Adapter surface.
 |  |  |
|---|
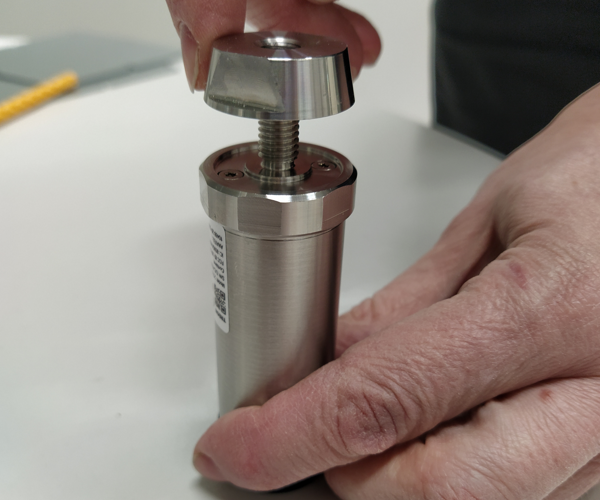
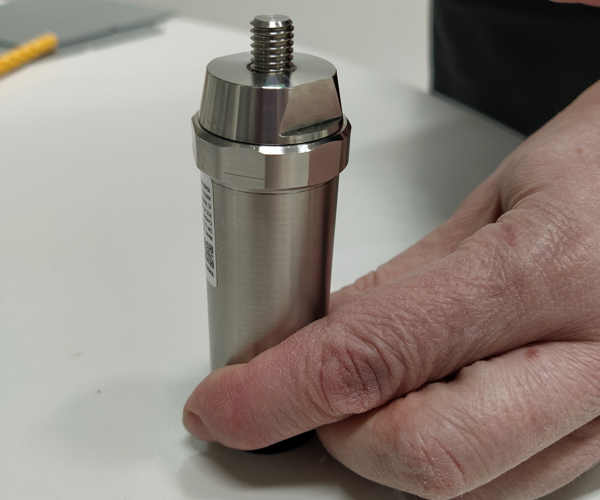
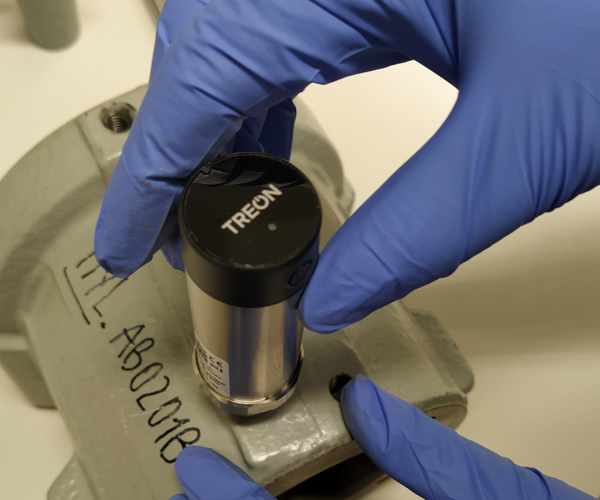
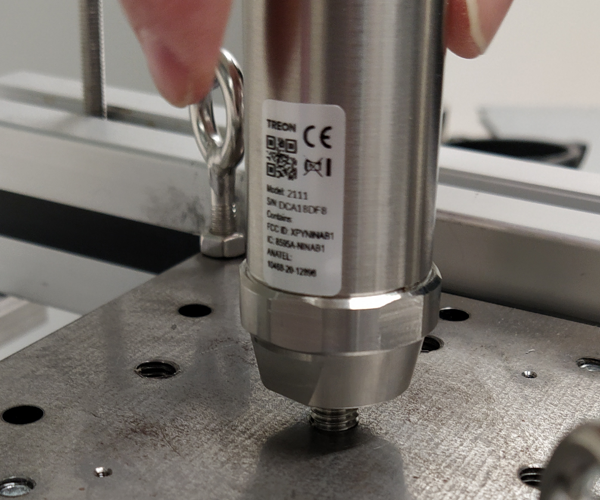
Step 2: Connect Treon Nut Adapter to Treon Industrial Node
Now carefully screw the Treon Nut Adapter to the thread of the Treon Industrial Node.
 |  |  |
|---|
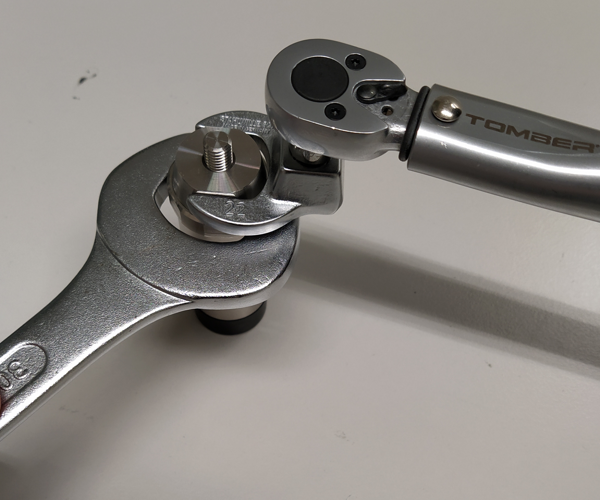
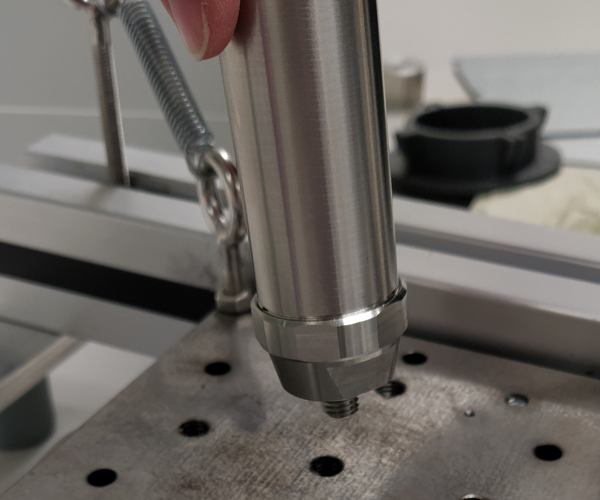
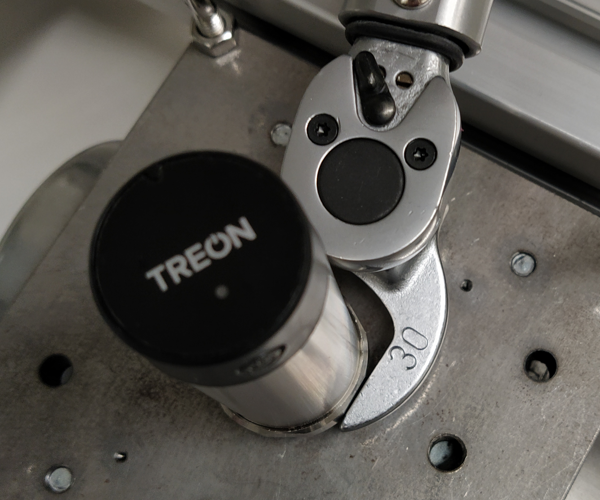
Step 3: Tighten the connection
Set torque in torque wrench to exactly 8 Nm. The SW size is 22 mm. Hold node with the SW 30 spanner or wrench and tighten the Treon Nut Adapter to 8 Nm.
 |
|---|
Step 4: Cleaning & Greasing Surface
Carefully clean the machine surface. Once it is clean, spread the silicon grease on the surface. Cover the whole area that the Nut Adapter will sit on.
 |  |  |
|---|
Option A: Installation with Epoxy
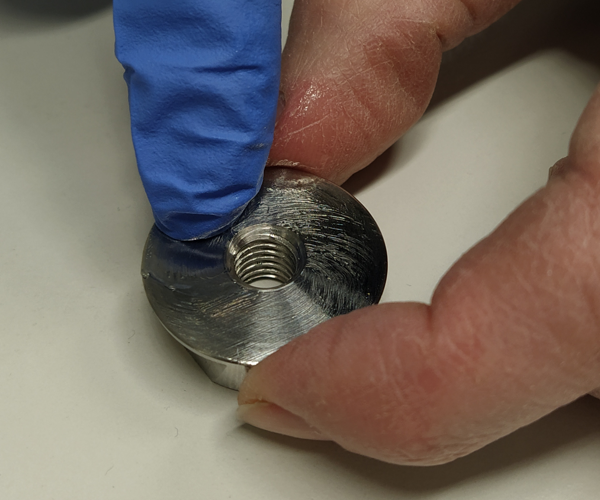
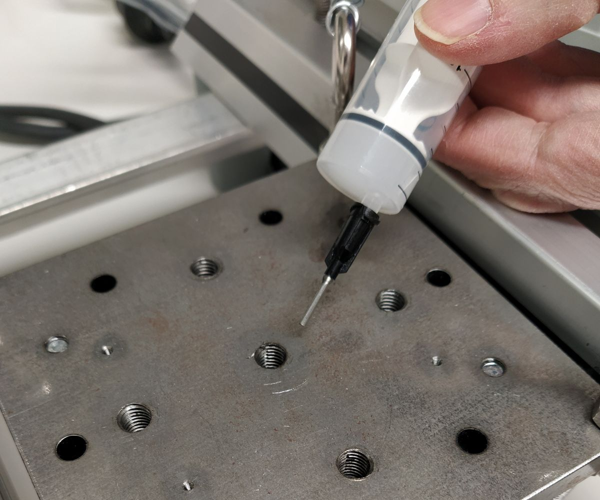
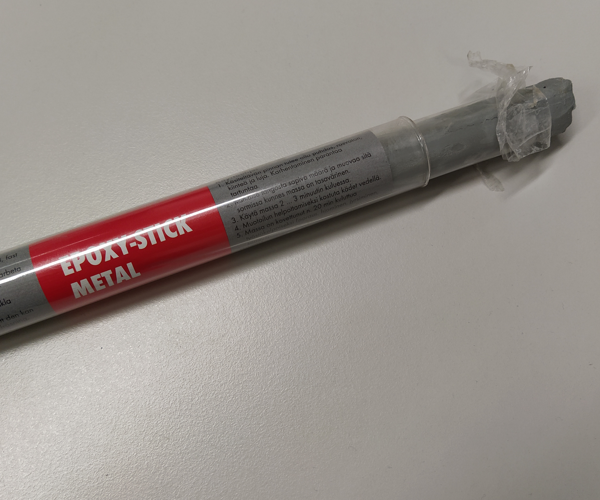
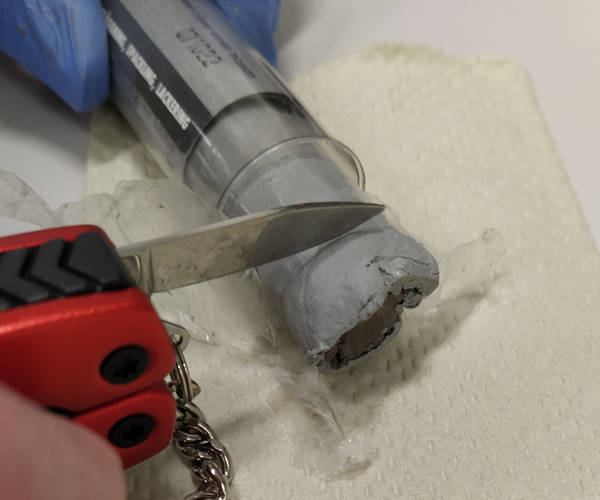
Step 5a (Epoxy): Prepare Epoxy
Put on protective gloves.
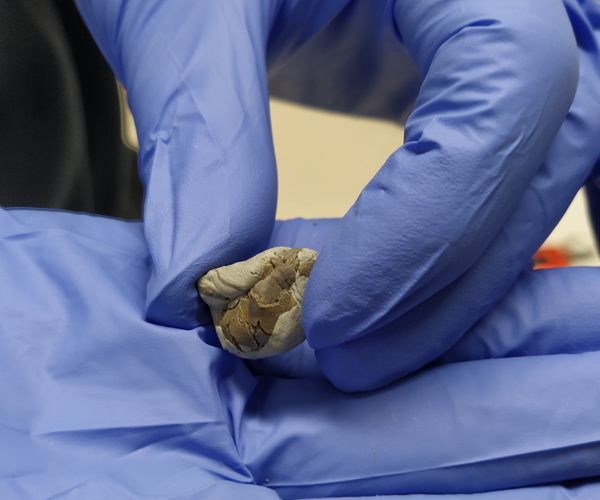
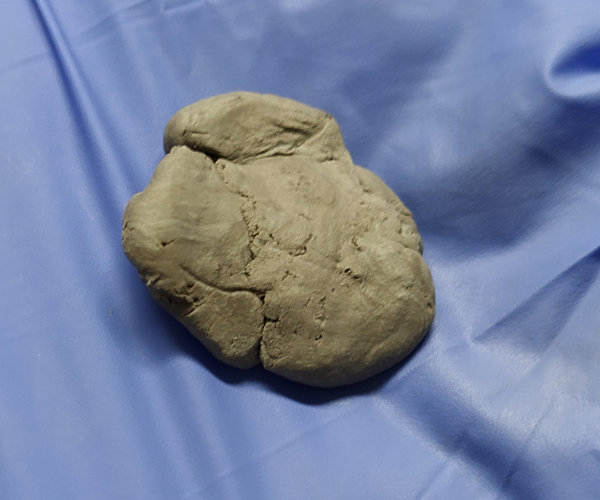
Cut a suitable slice of the epoxy. No mix it between your fingers until the two phases have mixed and the colour is uniform.
Use the epoxy within 2 to 3 minutes after mixing!
Please note: We recommend the Wurth ‘Metal Epoxy Stick’ for this step and have received good results with it. Of course you can use any suitable high-quality epoxy.
 |  |  |
|---|---|---|
 |  |
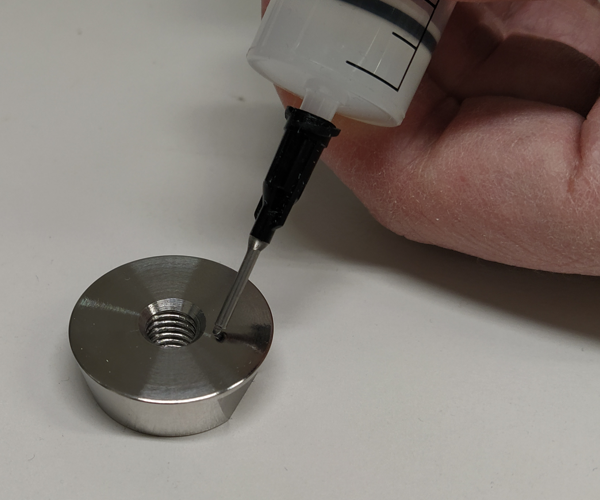
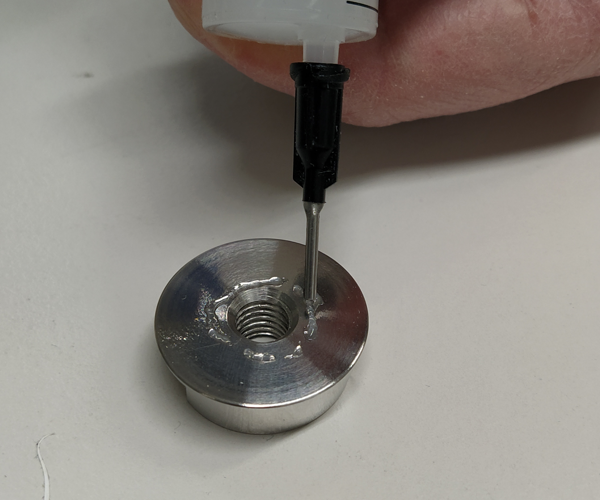
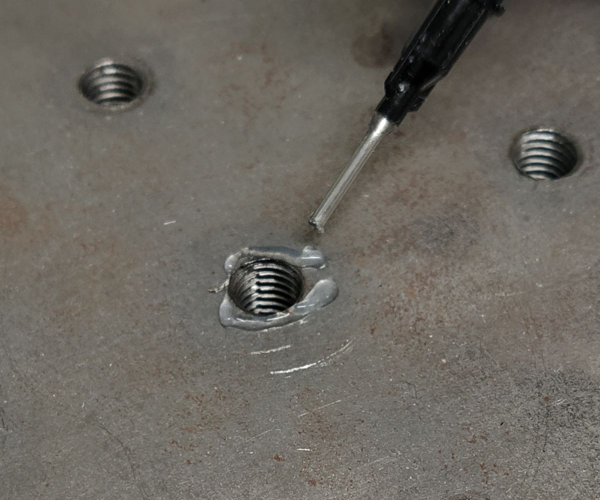
Step 6a (Epoxy): Epoxy to Treon Nut Adapter
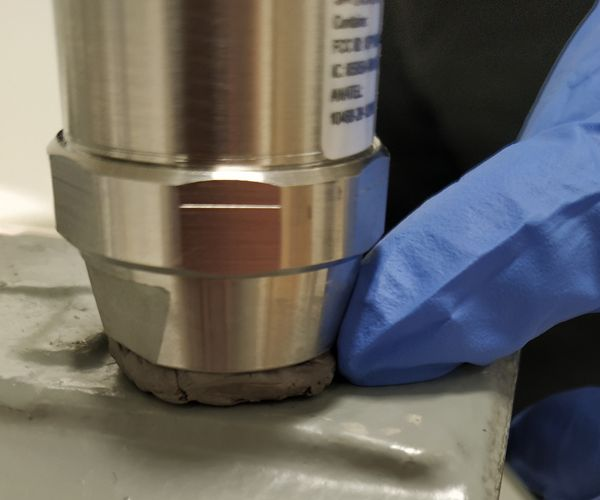
Place the epoxy on the Treon Nut Adapter bottom surface and shape it around bolt as shown on the picture.
 |
|---|
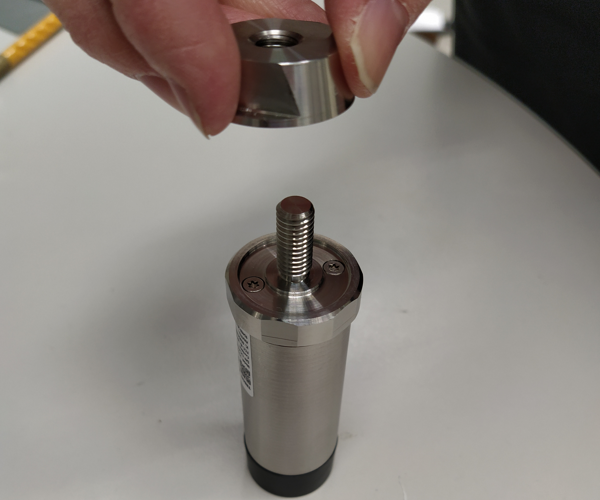
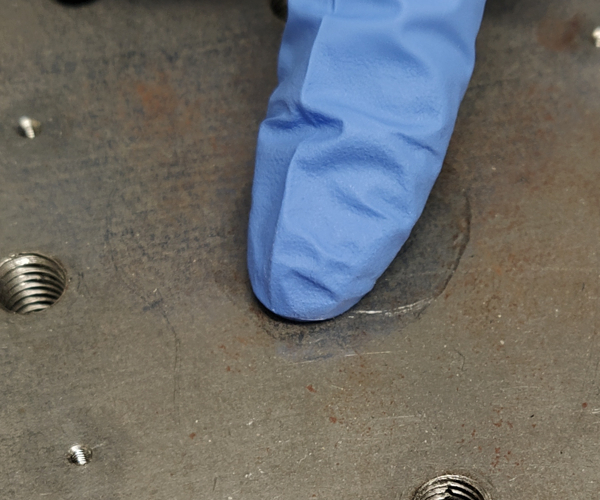
Step 7a (Epoxy): Node to Machine Surface
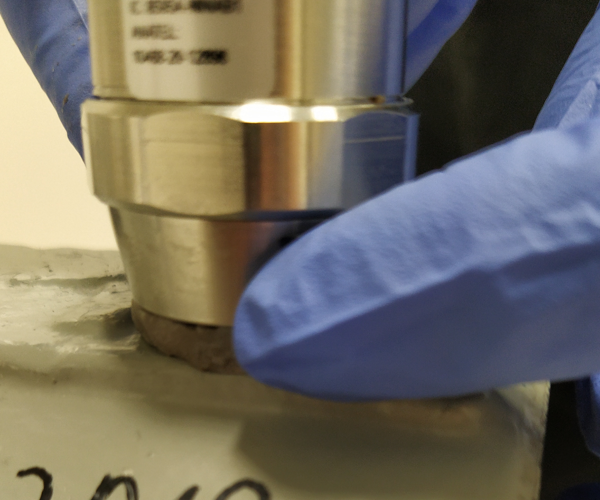
Now carefully screw the Treon Industrial Node to surface of your machine. During the screwing make sure that the epoxy stays between the Treon Nut Adapter and the machine surface by pressing it with your fingers.
Optionally, you can use a threadlocker if necessary.
 |  Treon Nut Adapter and surface |
|---|
Step 8a (Epoxy): Node Alignment
After you have fully screwed the Treon Industrial Node to your machine, align the node to machine so that the node axis points directly toward the drive or the non-drive end of the machine.
 between fingers | 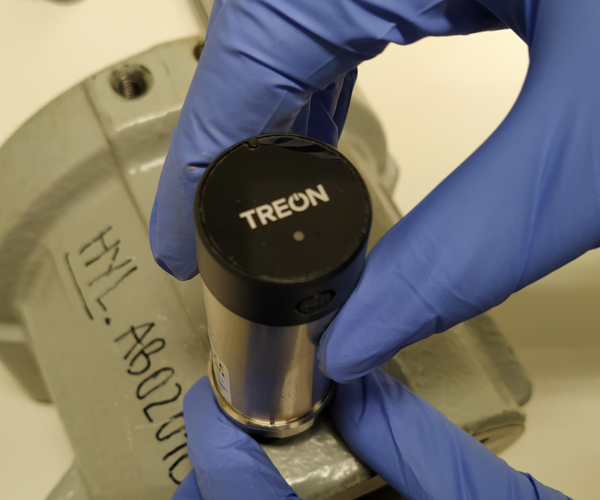 alignment is correct | 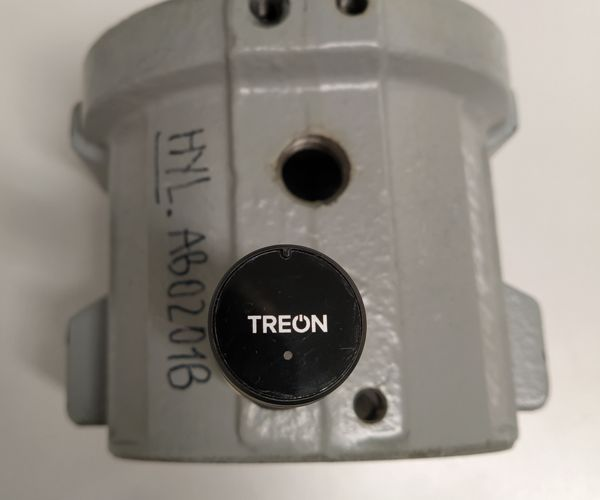 non-drive end of machine |
|---|
Wait until the epoxy is fully hardened before turning on the machine.
Option B: Installation without Epoxy
Step 5b (Without Epoxy): Screwing Node to Machine Surface
Carefully screw the Treon Industrial Node to the cleaned and greased machine surface.
Optionally, you can use a thread locker if necessary.
 |  in machine surface | 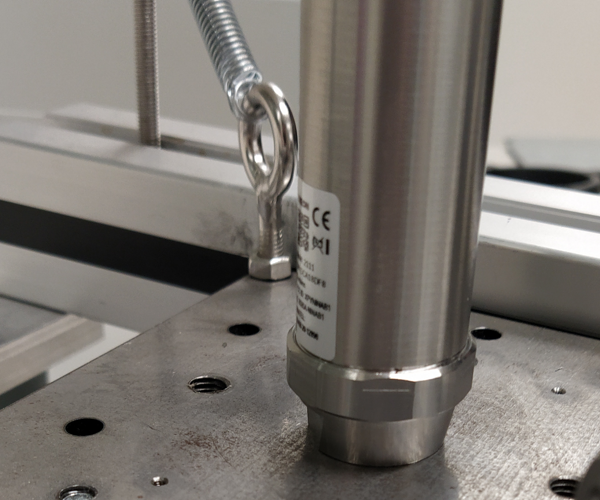 |
|---|
Step 6b (Without Epoxy): Node to Machine Surface
Set the torque in the torque wrench to 8 Nm and carefully tighten the Treon Industrial Node to the machine. The SW size is 30 mm.
 |
|---|
The Treon Industrial Node is now fully installed!
Treon Support
You still have questions? Our dedicated team of experts is happy to help you! Please contact Treon Support directly by e-mail.
Did you know? Treon offers Premium Support and Maintenance Packages for our customers. Get even more out of Treon and boost your sales - inquire now about features and prices!