How to Set Up Assets

Introduction
Assets are the machines equipped with one or multiple Treon Connect sensors.
Assets can be machines, sections of equipment, or part of a process. They are the basis for viewing machine health.
This article showcases how to create new Assets in Treon Connect Web.
Video tutorial: Create New Assets
Step-by-step tutorial: Create New Assets
Step 1: Access Treon Connect Web and Assets
For accessing the Assets management, open your Treon Connect Web application.
Click the Assets button in the Treon Connect Web main menu.
Step 2: Asset list
Here you can see a list of all current Assets.

Step 3: Create new Asset
You can create a new asset by clicking the CREATE NEW button in the top right corner.
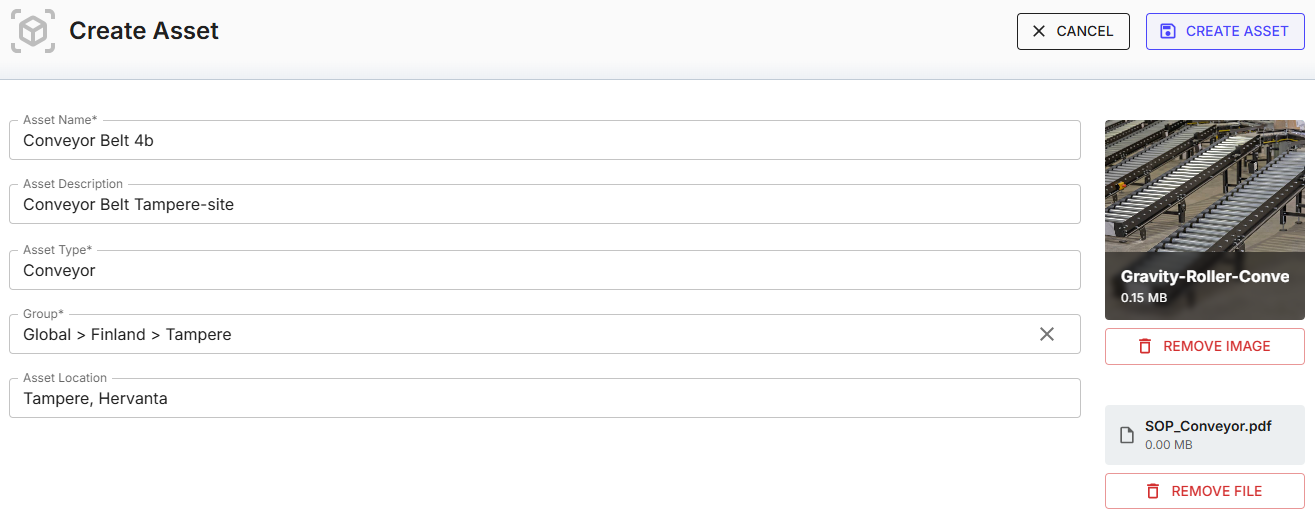
Step 4: New Asset input form
A new menu appears, allowing you to enter the data needed to create the new Asset.
- Asset Name: defines the asset with a unique name
- Asset Description: a short description of the asset
- Asset Type: the type of the asset can be defined freely
- Group: assigns the asset to a specific group as predefined previously
- Asset Location: describes the geographical location of the asset

Step 5: Asset Name
Begin by assigning a name to the Asset that clearly differentiates it from other Assets of the same type.
Step 5: Asset Description
Enter a description for the Asset that describes it further.
Step 5: Asset Type
Please select the type of your Asset from the dropdown menu.
Please note: when defining a new Asset Type that is not yet in the pull-down list, type the new Asset Type into the field and then immediately select it from the pull-down list.
Step 5: Group for the Asset
Choose the Group to which this Asset belongs.
You can select any Group or Sub-Group in your Groups branches.
You can only select Groups that already exist. To create new Groups, follow this guide.
Step 6: Asset Location
Enter a desciption for the exact location the Asset is found.
Step 7: Upload image
You can assign a picture to the asset through “SELECT IMAGE”. The file type of the image can be png, jpg, jfif, jpg or jpeg.
If you don’t have a suitable image available, you can also attach it to the Asset later.
Step 8: Upload file
You can also attach a file to the Asset. This can e.g. be a Standard Operating Procedure (SOP) file for this Asset or any other documentation.
Please be aware that only files in PDF format are allowed as attachments.
It is possible to delete the SOP file and upload a different one. You will be able to visualize the SOP from the Events app once an alert has been triggered for that asset.
You can also attach a file to the Asset at any point later.
Step 9: Create Asset
You have now entered all the relevant data for the Asset.
Click “CREATE ASSET” to save the information and create the new Asset.
Click “CREATE ASSET” to save the information and create the new Asset.
You have now successfully created a new Asset!

Last updated on Mar 23, 2026