Module 1 Control Setup
Introduction
In Module 1 of our Treon Connect training we show how to set up your Treon Connect instance so you can see your data coming in:
Step 1 Getting Started: Activate your Treon Gateway and Treon Industrial Nodes
We show you how to physically turn on your Treon devices and how to create your Treon Connect user account.
Step 2 Devices Management: Check and set up your Treon devices
We show you how to see that all Treon devices are connected with Treon Connect.
Step 3 Groups Management: Create groups to cluster assets and devices
We show you how to create Groups which can represent individual deployment sites and will later be the bases for user access control.
Step 4 Assets Management: Set up assets on which Treon devices are installed
We show you how to set up assets within the Groups, which represent physical assets at the deployment site on which you install one or several sensor devices to measure data.
Step 5 Access Management: Invite more users
We show you how to invite new users to Treon Connect, how to edit & delete users, how to resend passwords and how to work with user roles.
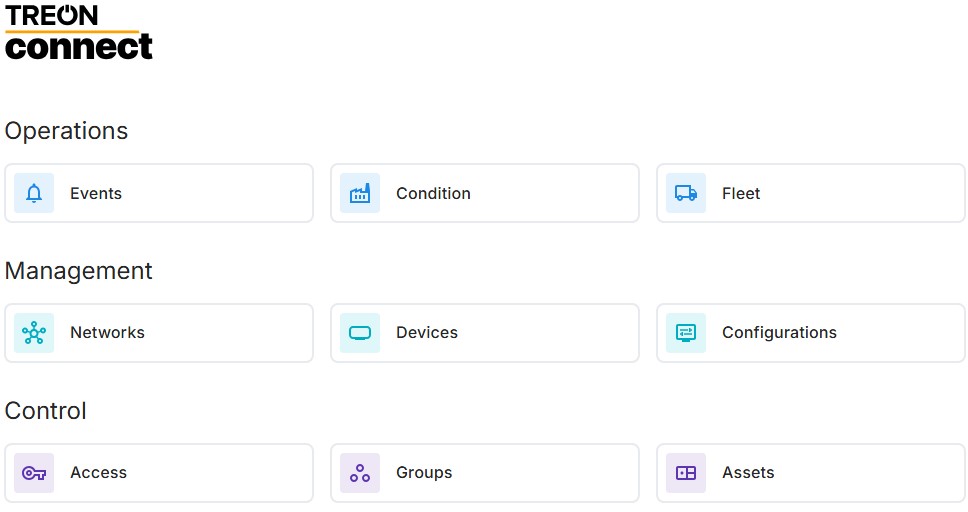
The main user interface of Treon Connect:

Once you have completed Module 1 Control Setup, you can move on to Module 2 Condition Monitoring to start analysing data.
